ZEISS CORRELATE 3D DIC, STRAIN, DISPLACEMENT, MOTION, ROTATIONS, ARAMIS
The ultimate software for product development
Free Download
Don't pay for what you get for free.
Use any camera and start doing 2D Digital Image Correlation today!
Download
Complete acquisition, evaluation and reporting software suite in a single environment
Measure strain, 3D displacement, 3D deformation, velocity, acceleration, and so much more!
Enabling product development metrology
Whether you need Digital Image Correlation, Live Photogrammetry, 3D scanning, inspection, and reporting, it's all done in one place. You can do all this and much more with a single software interface. Say hi to ZEISS CORRELATE.
You can also look inside CT data of your part and analyze geometries, voids, or internal structures and assembly situations with ZEISS INSPECT X-Ray.
Use ZEISS CORRELATE for simple or complex inspection tasks for your entire inspection process - from capturing the part to be inspected, mesh processing, CAD import, required form and position calculations to trend analysis, digital assembly, or proprietary inspection.
Free Download
Why wait?
You can start using ZEISS CORRELATE today. You read that right, you can use any camera and start doing Digital Image Correlation today!
Download free softwareWhich features do you need?
Full-Field and Point-Based Evaluation
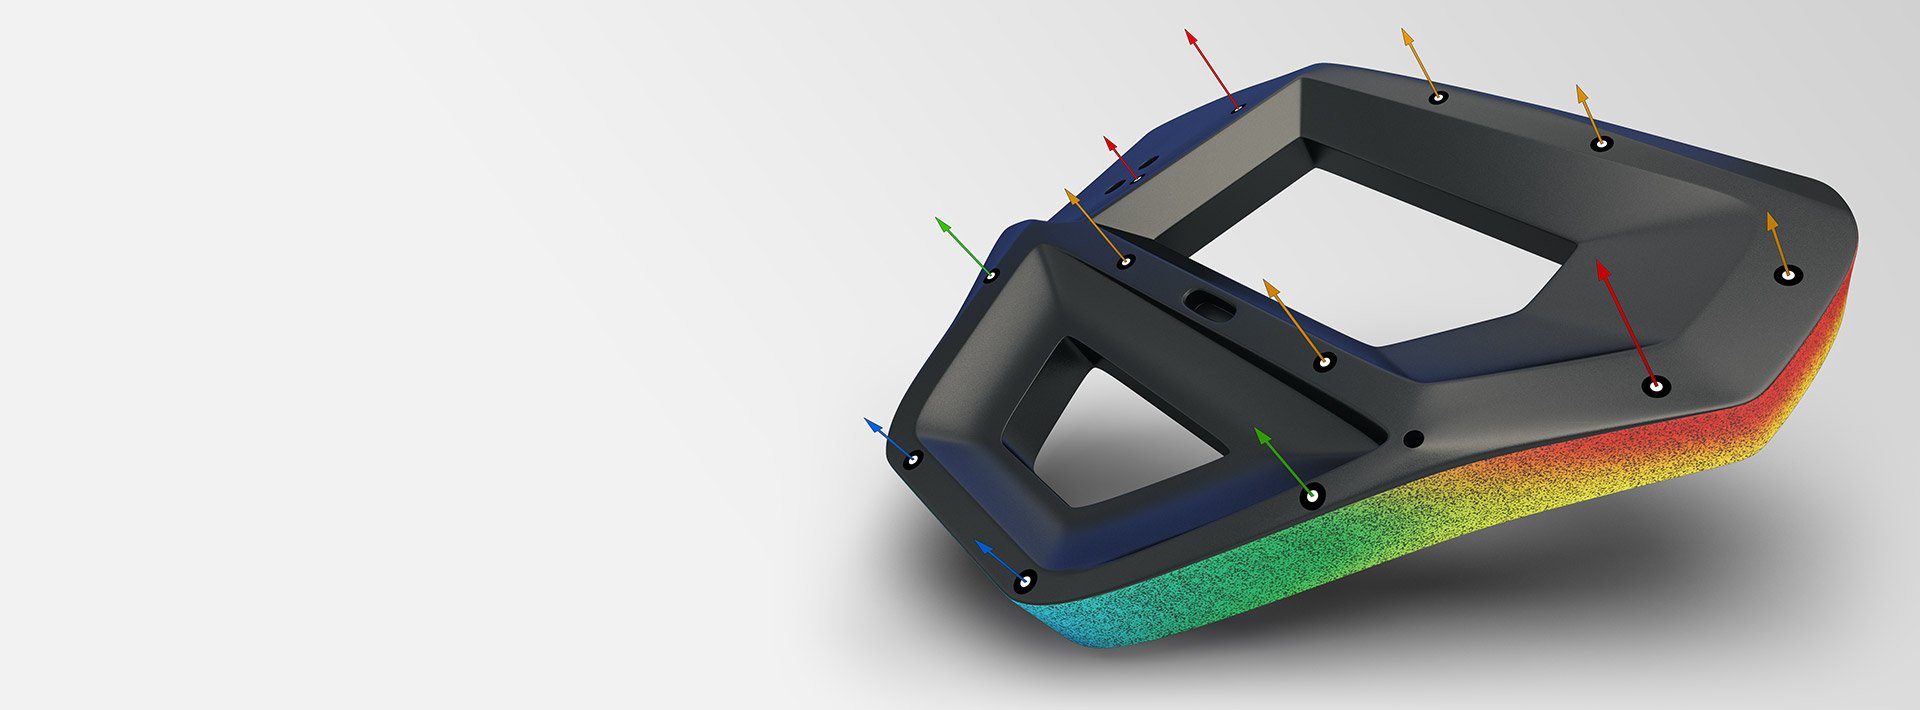
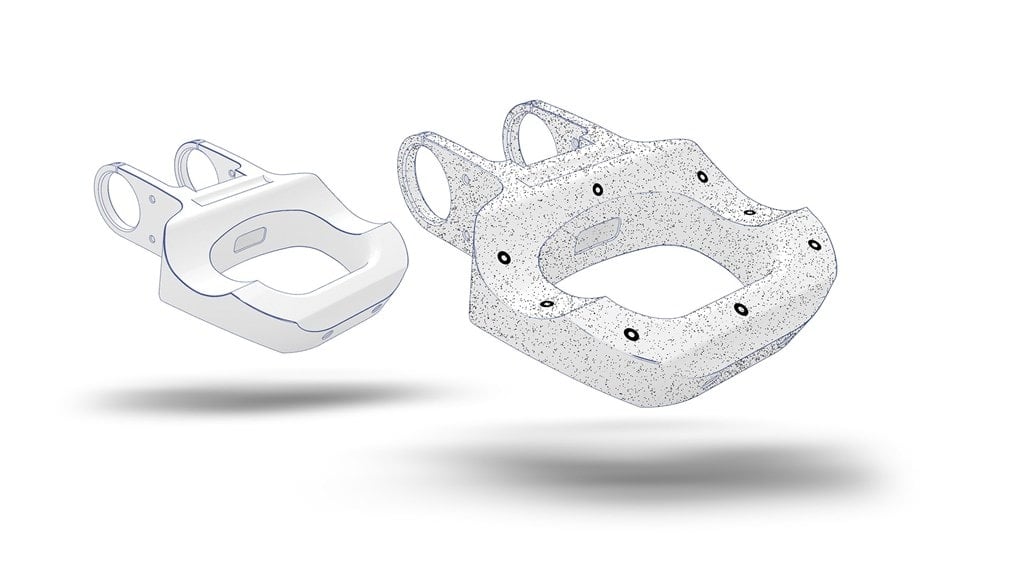
A stochastic contrast pattern is applied to the specimen for full-field measuring results and reference point markers are used for point-based measurements. Both evaluation methods can be used together within one measurement.
Digital Image Correlation
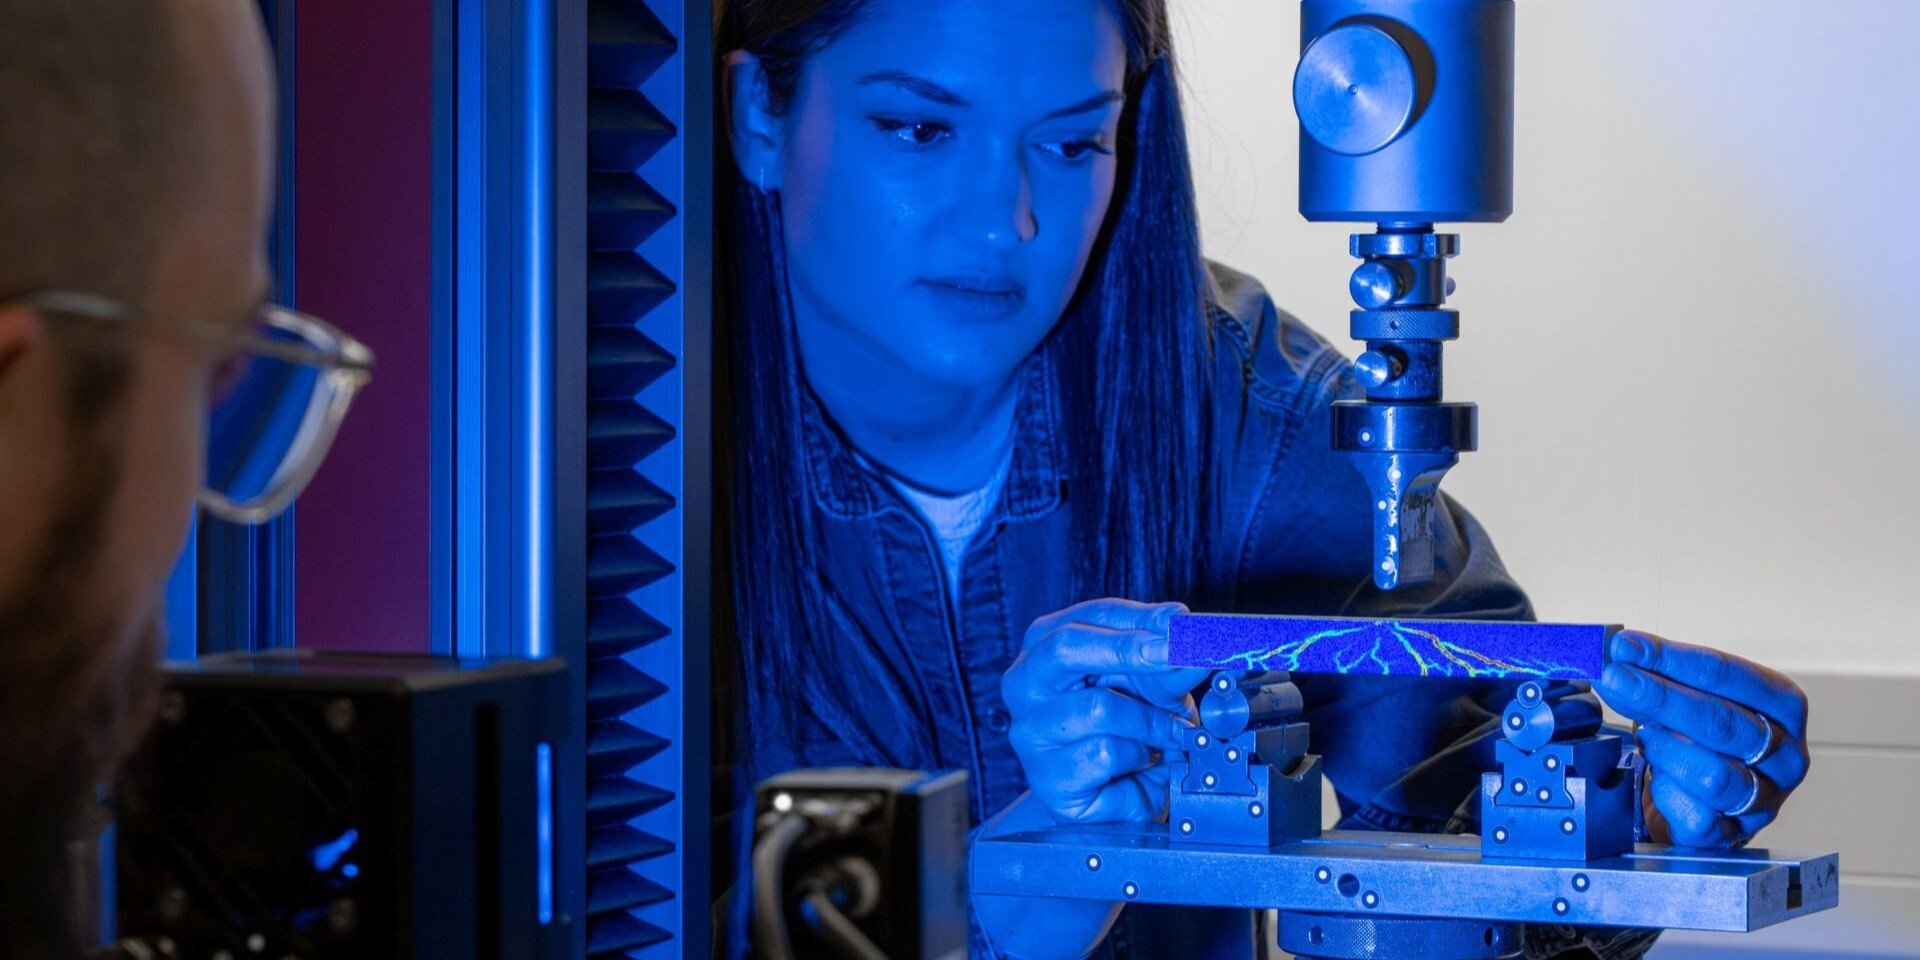
Digital image correlation (DIC) is an optical, non-contact method to measure 3D coordinates to evaluate motion and deformation in 3D space, and the determination of surface strain. Stochastic patterns and/or reference point markers are used to measure 3D coordinates with subpixel accuracy.
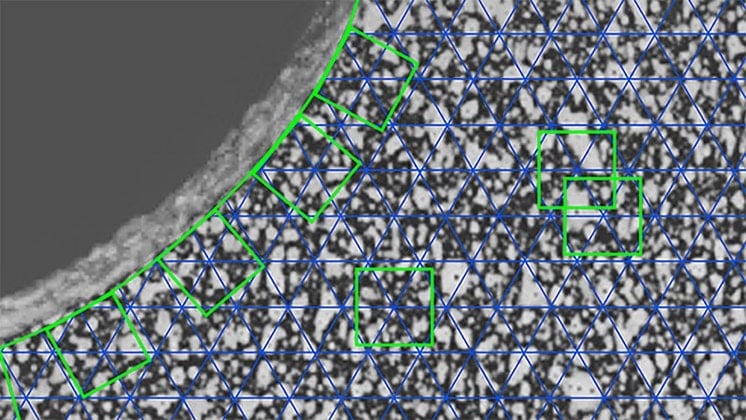
Strain, 3D Displacement, and 3D Deformation
The software provides strain values, such as major and minor strain or strain in X- and Y-direction. Point groups, so-called components, can be defined from the individual measuring points. The software can identify these over the entire time course of the test. This enables the accurate computation of displacements, velocities, and accelerations in three dimensions.
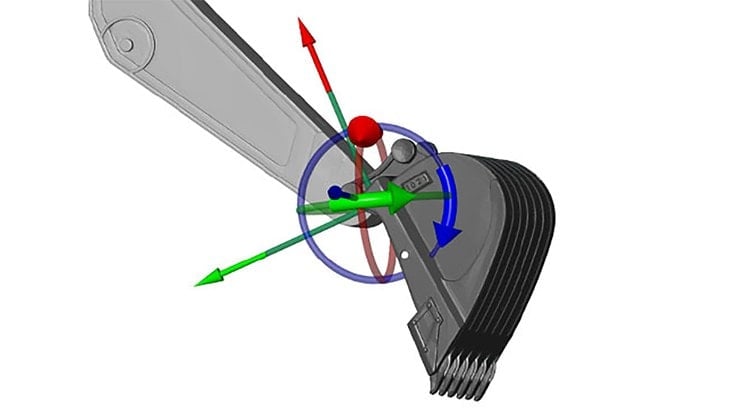
Six Degrees of Freedom (6DoF)
Local coordinate systems can be attached to components and move in-unison, enabling 6DoF analysis. You can determine the translational and rotational motions of any component in relationship to each other or as absolute motions in all directions in space.
Trajectories
Display the position through all stages of the project recording for individual points, point groups, local coordinate systems and construction elements, and more. Get an accurate and holistic picture of your test in minutes.
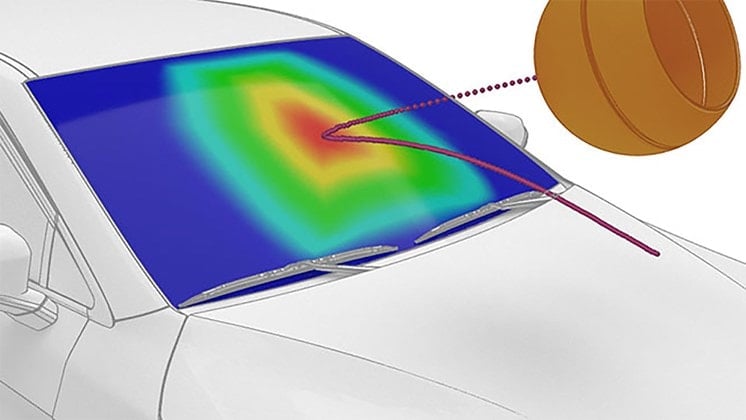
Velocity and Acceleration
Easily derive velocity and acceleration from the 3D coordinates with built-in checks. Or go further and check complex tangential accelerations along a curved trajectory!
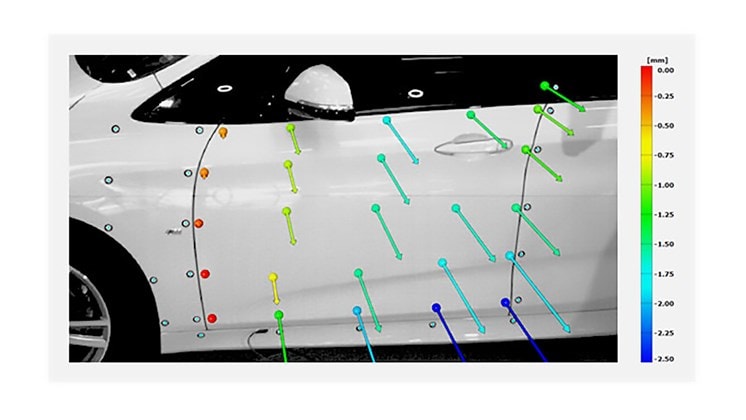
Rigid Body Motion Compensation (RBMC)
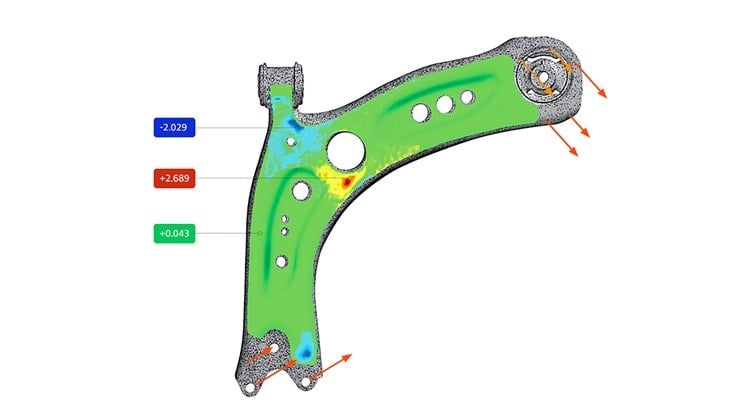
Using our unique function “Transform By Component”, a RBMC can be carried out. The relative motion of a reference component with respect to another component is then analyzed to eliminate sensor motion or measure local buckling and warpage!
But that's not all...
Discover Zeiss Correlate featureseLearning and classroom training
Whether as eLearning or in a classroom training: Visit the ZEISS Academy to learn everything you need to know about the ZEISS CORRELATE.
Among other things, you will learn about the benefits of parametric inspection or create trend analysis, statistical process controls, and user-defined templates. In the Inspection Basic Training - 3D Metrology, for example, participants learn how to inspect 3D measuring data in the ZEISS CORRELATE, including inspection planning, alignment methods, or report generation.

Tested high precision
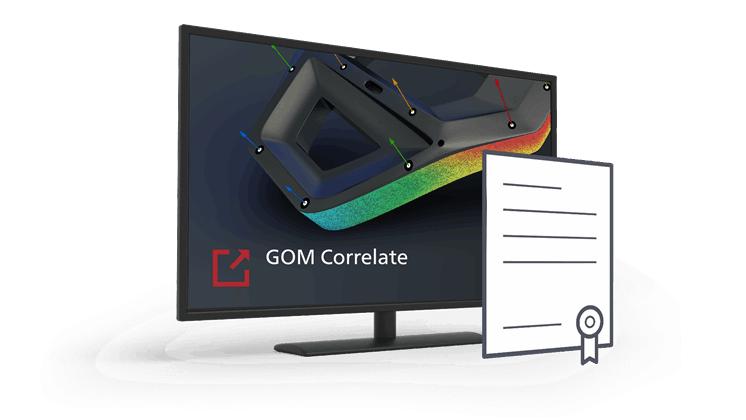
The accuracy of the ZEISS CORRELATE and ZEISS CORRELATE Professional evaluation software has been tested by the institution "Physikalisch-Technische Bundesanstalt (PTB)" and the National Institute of Standards and Technology (NIST) by comparison with reference results. The ZEISS CORRELATE software was classified in the category with the smallest measurement deviations (class 1).
Free Download
ZEISS CORRELATE 30-DAY TRIAL
If you need to do 3D analysis or want to test the advanced software functionality, you can also start a 30-day trial free of charge whenever you want with no contractual obligation.
Start trial
