AM, Quality Assurance Testing
ensure your products have the highest structural integrity and quality
Material and Structural Analysis
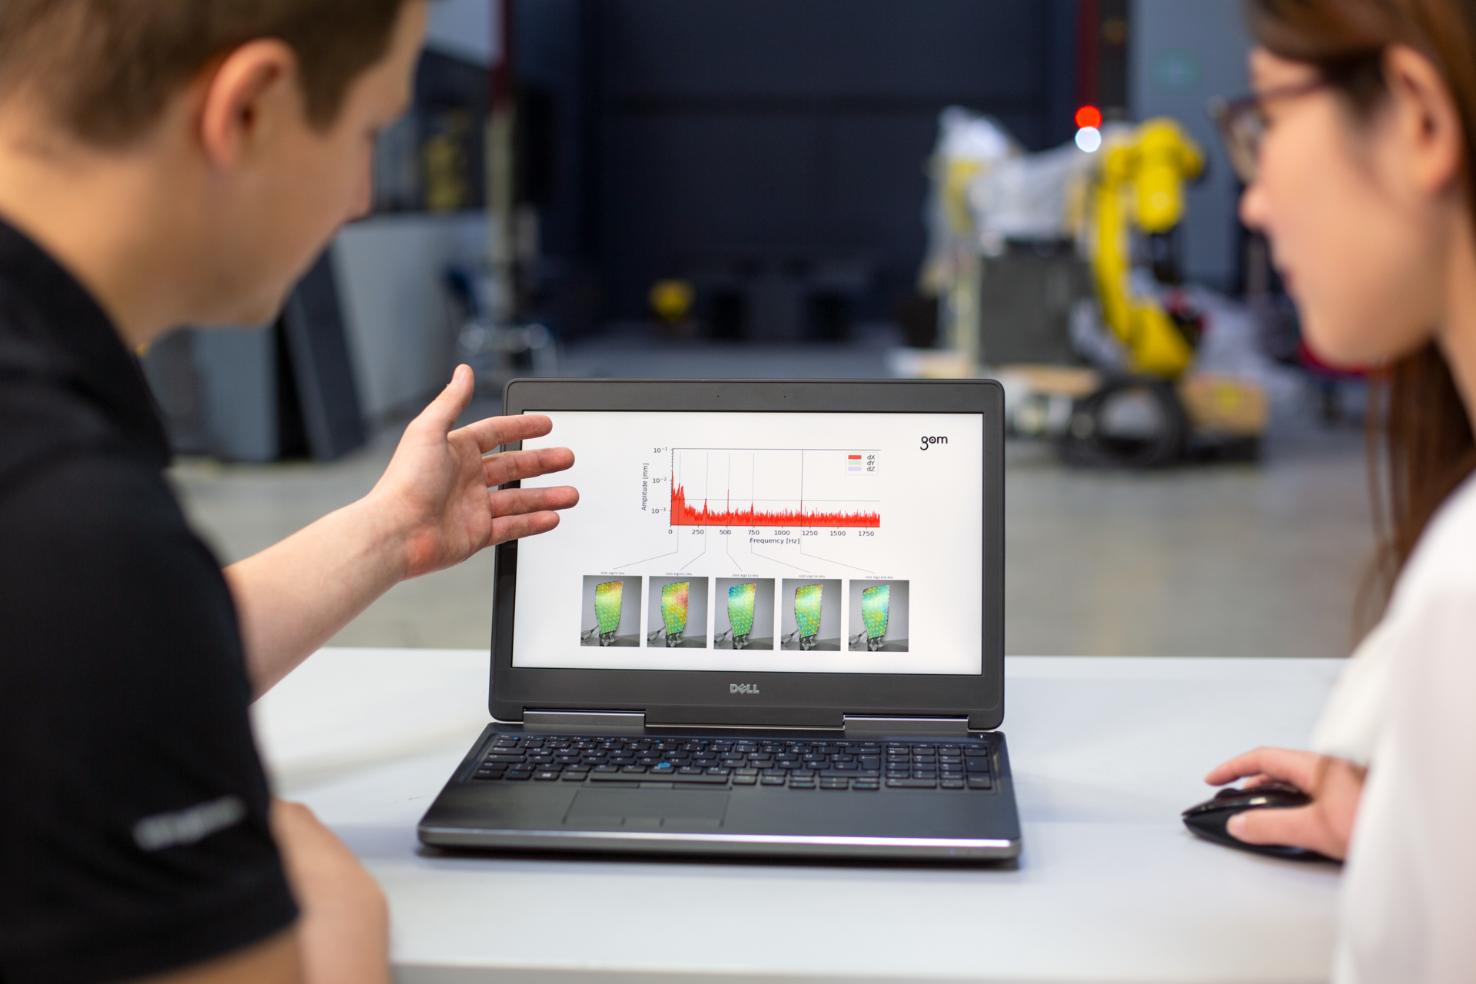
Our ARAMIS technology is a critical component of any material or structural test. ARAMIS is an optical non-contact, full-field, and material-independent system that utilizes digital image correlation and photogrammetry. With this system, we can measure 3D shape, 3D displacement (in 6 degrees of freedom), and the full-field strain response of your additively manufactured parts.
If paired with a load frame via a +-10V analog input on our testing controller, or a manually aligned load curve by importing a CSV file, you can utilize our built-in tensile testing script that to fully analyze your materials. This feature will automatically generate stress/strain curves and output material properties such as the modulus of elasticity, Poisson’s ratio, n & r values, and others.
ARAMIS can also be used for witness coupon testing to validate each build when paired with a load frame, sub-component functional validation, and build vector variation validation. This leads to 100%-part structural validation, giving you next-level insight into how your part responds during various tests.
Quality Assurance
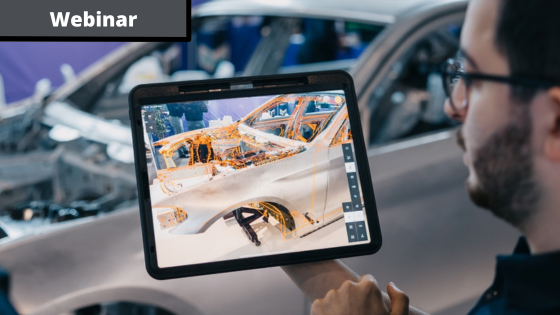
GOM/Zeiss CT measurements can be paired with ARAMIS to fully validate builds for material quality, dimensional conformity, and application strength validation. Since teaming with Zeiss, we have a broad range of CT capabilities to suit your specific needs. With CT measurements, we can volumetrically measure your entire part and compare it to a CAD model directly in our software, and inspect the deviation between the real part and model. We can also determine the SPC build variability from part to part and detect any voids or defects that may be present internally.
By pairing CT measurements with ARAMIS, we can take these inspections to the next level. After verifying the quality of your part and inspecting for internal defects, we can then test the part and use ARAMIS to see how these discrepancies affect the response of the part during testing. This is easily done by aligning our ARAMIS data to the CT measurement and correlating the two, all within the same workspace.
FEA Validation
Depending on the material and geometry, modeling an additively manufactured part can be very complicated. By using our ARAMIS technology, we can refine and validate this model with ease. We can measure the part’s response during your test without making any assumptions based on the model. We can then take your model, import it into our software, and view the deviation between it and the test data. This allows the user to make quick adjustments to their models and boundary conditions to align with the way the part is responding during the test. The user can also import the material properties generated from ARAMIS measurements into their model for further enhancement.
Product highlight
Our ARAMIS SRX platform is extremely reliable and was designed with material testing in mind. It's rigid fixed camera base offer unparalleled calibration stability and ease-of-use.
Find out more
1 min read
Testing Solutions for Enhanced Wind Turbine Performance
Oct 11, 2024 by Charles-Olivier Amyot
High-speed cameras: Applications in Aerospace Testing
Jul 17, 2024 by Ben Eisdorfer
2 min read
Using Digital Image Correlation for Jet Aircraft Engine testing
Jul 9, 2024 by Walter Schnapp
Want to learn more?
Our team can discuss and demonstrate most of our products and applications virtually to you today!


