GOM Scan 1 Small, Blue Light, Precise, Big Ideas, Mobile, Powerful, Self-Monitoring,
The Next Small Thing
RESULT BASED
Next-Generation Product Testing And Measurement
Trusted by Fortune 500 companies across a dozen industries.
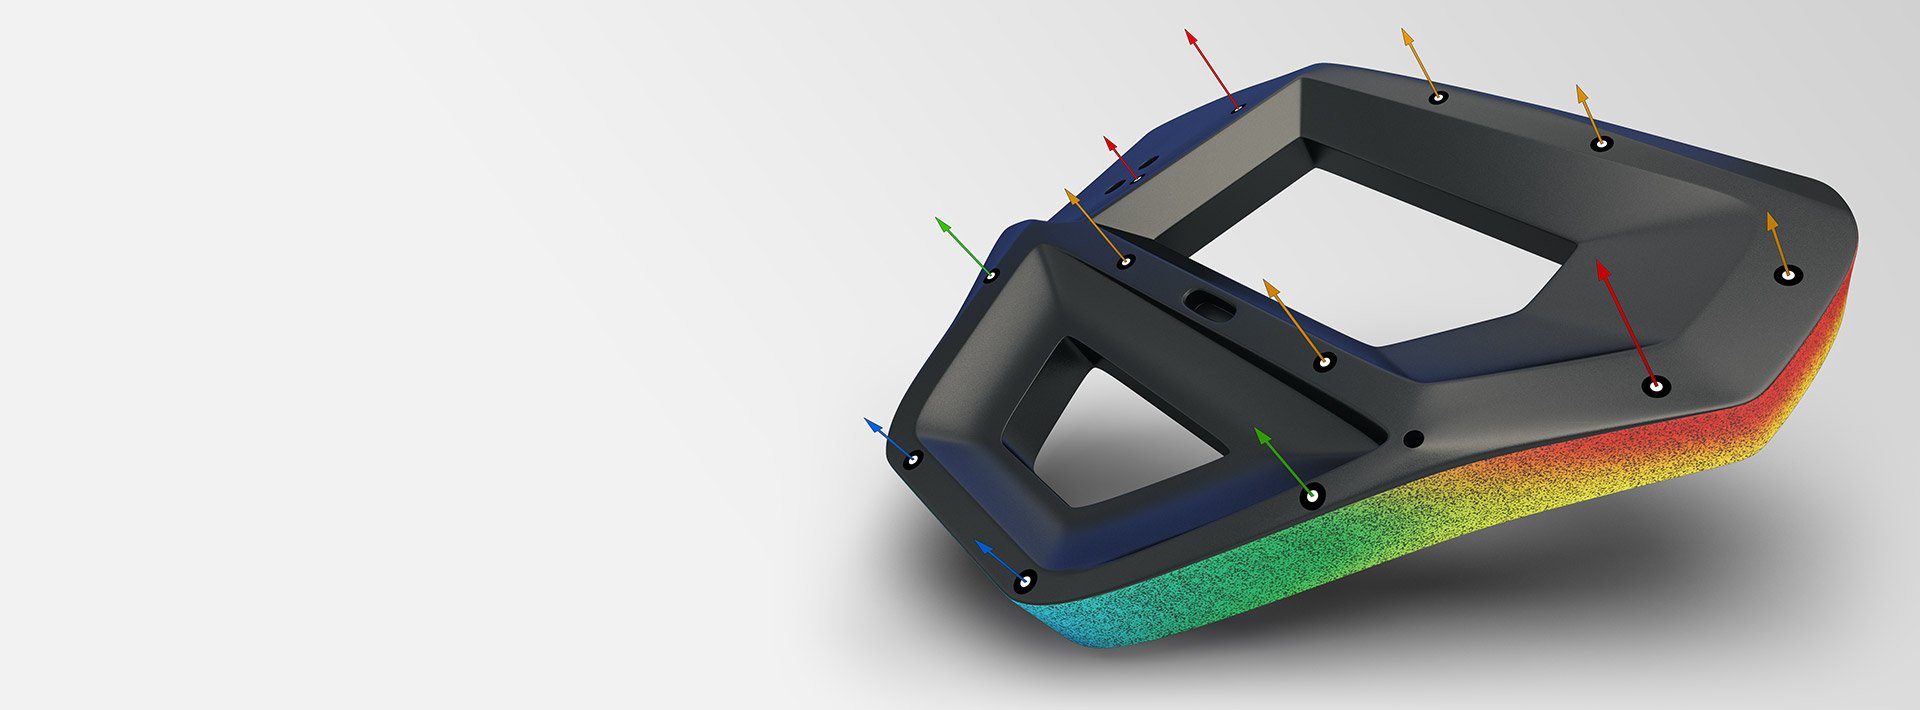
Highlights
Powerful scanner
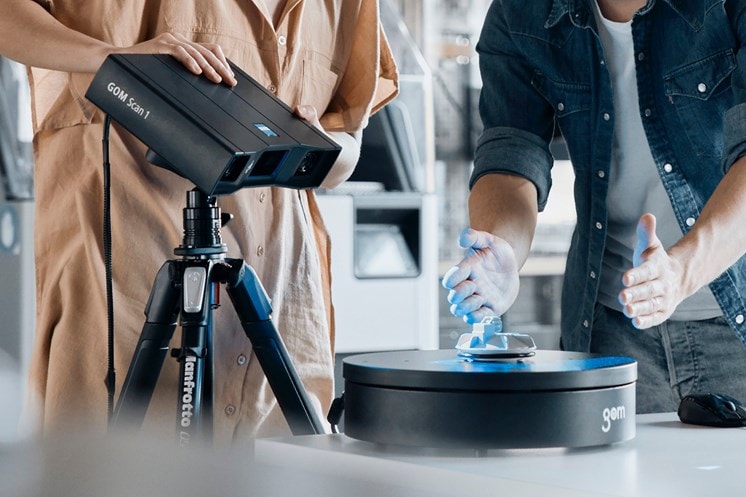
GOM Scan 1 features a compact shape and robust design. The Blue Light Technology and the stereo camera allow the sensor to deliver high precision 3D data.

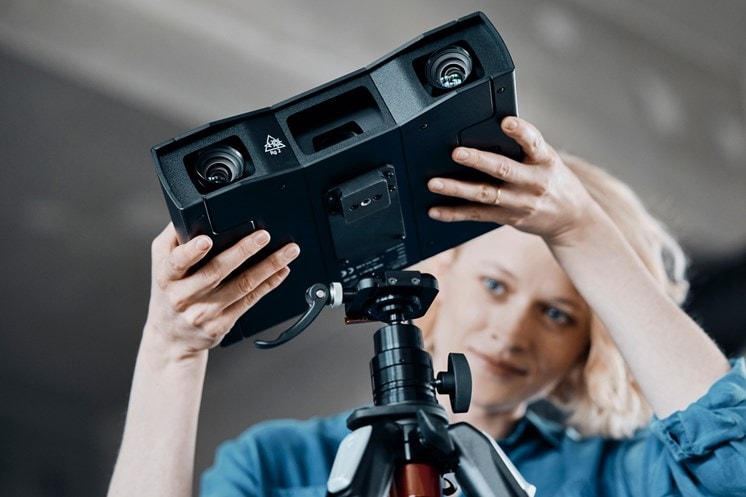
Small, mobile, and super easy to use
The lightweight solution allows you to capture 3D data intuitively. Easy to operate, GOM Scan 1 is the specialist for simple and fast measurements of small to medium-sized parts – even in confined spaces.
Fast and Precise
GOM Scan 1 with pre-installed GOM Inspect takes meshes to the next level. You can rely on high-quality data, generate precise meshes, and get your 3D data easily and fast.

Features
Choose your measuring volume
GOM Scan 1 is available in three versions with the measuring volumes: MV 100, MV 200 and MV 400. With all three sensors you can rely on high-precision measurements for small to medium-sized objects.

Fringe Projection
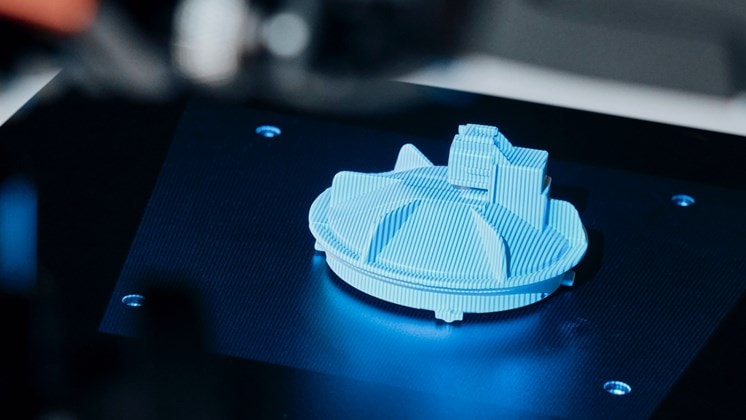
GOM Scan 1 is an optical 3D fringe projection scanner. It captures the complete surface of components with blue fringe projection and delivers detailed resolution in no time.
Blue Light Technology
Since the sensor works with narrowband blue light, interfering ambient light can be filtered during image acquisition. Due to its powerful projection unit light source, short measuring times can be achieved with high precision.
Self-Monitoring
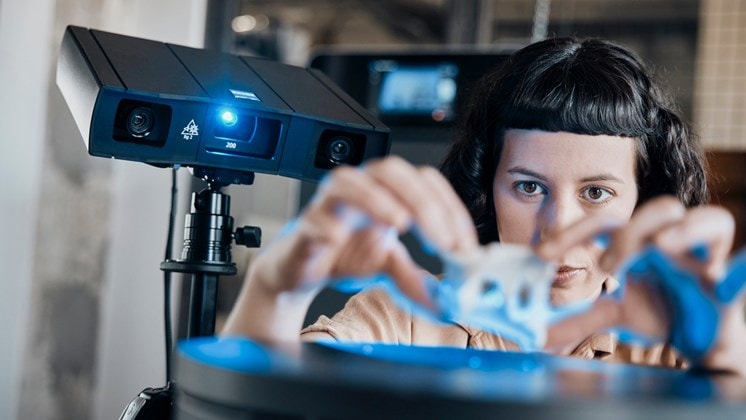
Due to the stereo camera principle, the sensor recognizes changing ambient conditions during operation and can compensate for these changes. To ensure the quality of the measuring data, the sensor's software continuously monitors the sensor status.
Technical Specifications
| GOM Scan 1 (100) | GOM Scan 1 (200) | GOM Scan 1 (400) | |
| Points per scan | 6 million | ||
| Point distance | 0.037 mm | 0.060 mm | 0.129 mm |
| Measuring area | 100 x 65 mm² | 200 x 125 mm² | 400 x 250 mm² |
| Working distance | 400 mm | 450 mm | 500 mm |
| Light source | LED | ||
| Weight | approx. 2,5 kg | ||
| Dimensions | 290 x 215 x 80 mm³ | ||
| Cable length | 5 m | ||
| Connection | USB 3 | ||
| Operating system | Windows 10 | ||
| Software | GOM Suite | ||

